
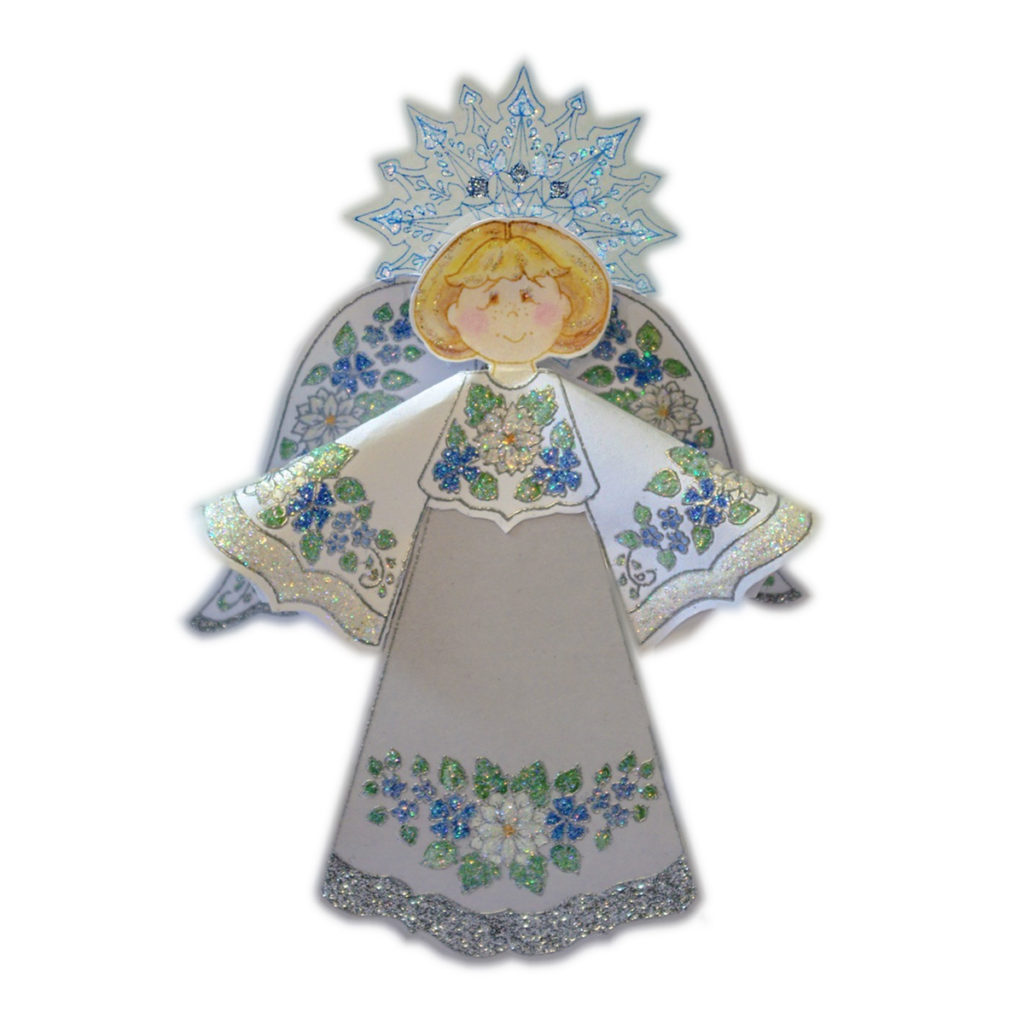
These new and very charming five inch tall angels will stand proudly, as on a mantel, hang as an ornament or sit beautifully as a tree top angel, elegant on a small Christmas tree. They are decorated in five floral themes. Two are seasonal with poinsettias or holly. Three are versatile florals that may be created in a holiday, spring, summer, fall color scheme or perhaps to match a little girl’s room. They would be lovely embossed in gold, glittered and bedecked with ribbon or softly water colored in pastels. Make a dozen to decorate a tree or surprise someone with a handmade ornament for a gift exchange…think teachers, Grandmothers, angel collectors and more!
Instructions:
#1 Stamp in permanent ink or emboss (gold) three bodies, one set of wings and one set of sleeves with bodice on a sturdy card stock in colors of your choice.
#2 With scissors, cut out the five pieces leaving a 1/16 edge around the embossed or inked lines. Trim the right tab off of the body pieces by cutting right down the center of the channel.
#3 If you are stamping in permanent ink, remove the face and neck from two of the bodies. If you are embossing (gold), remove the face and neck from all three bodies and stamp an extra face and neck in black or brown permanent ink on a natural white or flesh tone card stock. Gold embossed features (eyes, nose and mouth) are not desirable. These little sweet faces are most lovely when stamped in permanent ink and softly colored with watercolor pencil and carefully painted with a small paint brush moistened with water. Just don’t forget the rosy cheeks. When cutting out this piece leave an extra long tab below the neck for gluing back in place.
#4 Now is the time to paint, glitter and otherwise embellish all of the other pieces.
#5 If you are embossing and have water colored the angel face, now is the time to glue that face in place on one of the body pieces.
#6 Score down the channel and glue the three bodies together with the tab that remains on the left side of the bodies being very careful to keep lines parallel and even at the top and bottom. When glued, the body images should stand together in a triangle. One of the body pieces should also have the face and neck glued in place.
#7 Score the small tab that is attached to the top sides of the sleeve image. With your fingertips, start gently curving a sleeve until the tab on the top of the sleeve will reach the same position on the lower edge of the sleeve. Glue in place. Repeat on the other sleeve.
#8 Carefully glue the bodice only to the front of the body of the angel, carefully matching it to the neck and shoulders. The sleeves should hang down and align with each side of the dress.
#9 Carefully score the wings in the channel on each side of the center panel. Cut a straight line up the outside of each side of the center panel up about two thirds of the way to the top. Insert this center panel section of the wings into the triangular area behind the angels head and neck.
#10 Your angel is complete. You may make a halo out of brass wire to hover sweetly over her head. Glue the stem of the halo to the inside of the glued seam that goes down the center of the dress. To hang as an ornament glue a ribbon loop to the top of the back triangle or run a needle through the top of the triangle with a string or ribbon and tie as a loop. The angels could be embellished with ribbons and beads.
Stamp and enjoy!


